I had an "A" and "B" side of a large hollow core door layout I've been working on since Jan 2011. The "A" side is El Centro, CA and the interchange with The SP. I planned for Plaster City and then Dos Cabezos on the San Diego and Arizona Eastern Railroad. I didn't like what was coming up on the plans so I shifted to Coyote Wells, CA. This was a division point on The old SD&AE and later just used for car storage for The U.S. Gypsum Plant in Plaster City, CA.
To get the right texture and look for desert scenery and the sand, I had to resort to some unconventional means. I will share the secret with you. You are not going to get sand, dirt or ground cover to look right in N scale. I started a test area on the layout in early 2011. I used a color of craft paint from Folk Art called Linen #420 at Wal-Mart, Michael s or any craft store.
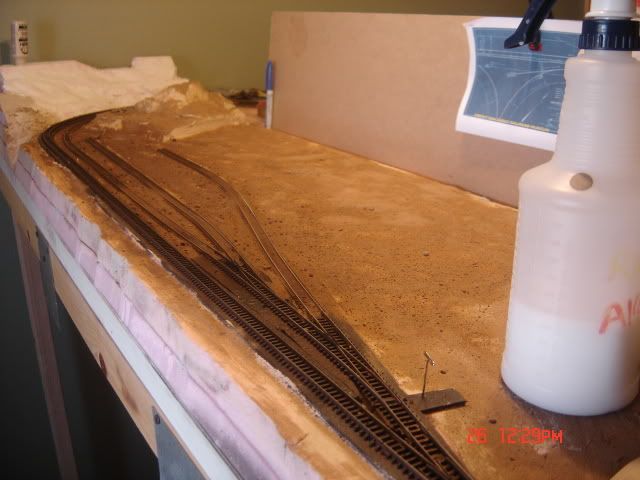
The test area results were outstanding. I painted the foam tabletop with the craft paint and sifted real desert sand from the banks of the Colorado River near Yuma, AZ on the sand with a strainer. I let it dry overnight. Next day I took a sanding block and roughed up the sand that was adhered to the paint. Then took the shop vac to the area, and took a mixture of 3/4 paint and 1/4 water and dabbed it on the dry sand. the same color.
I screwed up the test area up by adding more sand over the painted sand and the color darkened. I need to fix that area to blend in with Coyote Wells.
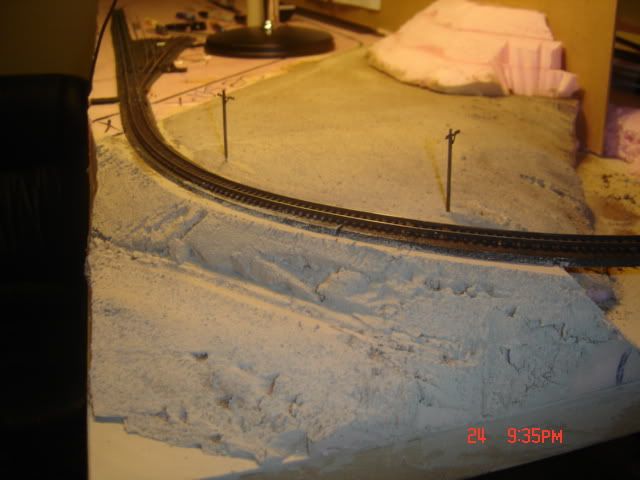
When it was time to work on Coyote Wells, I used Code 80 for the main line and Code 55 for the sidings. I painted the rails with a craft store Burnt Sienna color. I airbrushed a mixture of the paint and water to break it up. After it dried. I began to sift sand in copious amounts in the small yard in Coyote Wells. Enough to cover the track ties and up to the rails like the prototype. The wind blows so hard in that area, you can barely see the rails and ties. I sprayed the entire yard area with alcohol and then a mixture of 50/50 water and white glue. Let it dry real good and do it again. I dabbed the craft paint and water on real good. When it dried it looked like sand had piled up on the ties and around the rails.
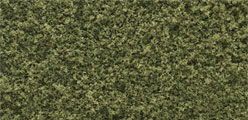
The vegetation in the test area was pretty simple, 3-4 kinds of Woodland Scenics Course Turf:
Burnt Grass
Yellow Grass
Earth
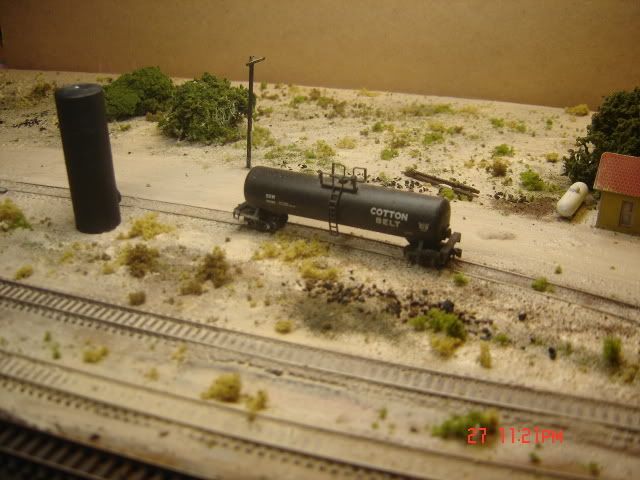
While painted sand was drying, I would take pinches of the turf and let it fall where it may, creating a random effect. This worked well, so I used this in Coyote Wells, same exact way. For the few trees that are in the area, they are pieces or clumps of lichen that I rolled in ground foam years ago. I picked and processed my own lichen years ago and rolled it in ground foam like flour and it made great trees. The tanks were from left over Walters HO assortment. The poles are from Osborn, a great Canadian manufacture. Popped in a leftover Walthers HO propane tank and an assortment of MOW buildings painted in SP colors.
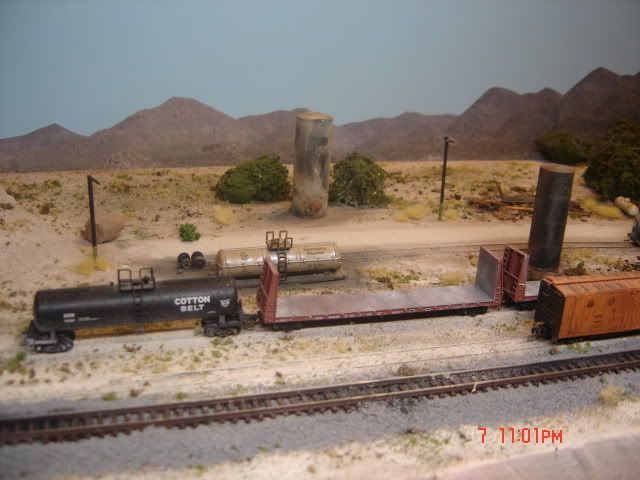
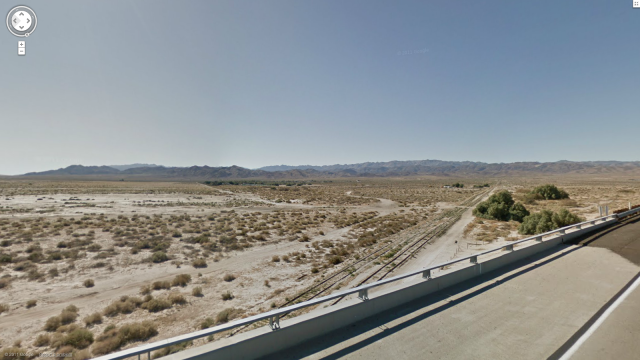
The backdrop was made with 1/8" masonite painted with a medium-darker blue color. Light blue doesn't come out well in photos. I took about 8 shots in an area off I-8 on the grade from The Imperial Valley to the first exit, where you can pull off. I took the pics in April 2009 knowing I was going to build this layout. I printed them on regular paper and cut them with a blade. No need to cut out all the detail. I rubber cemented the cut out photos to the masonite. Working on covering up the seams and areas where the backdrop shows through. I lined up the photos, that caused the cut out photos to be lined up all over the
backdrop due to the lack of a real horizon when I took the pics.
Coyote Wells in the future:
Add more sifted sand to the grey ballast on the mainline
String the telegraph poles
Add figures to the scene
Paint MOW buildings window and door frames SP brown
Here's the actual area:


No comments:
Post a Comment